Getting Started with Rice NOTS
Useful link: https://kb.rice.edu/page.php?id=108237
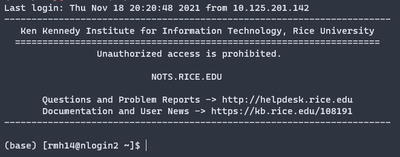
Connect to NOTS via SSH.
If on campus, or at RGA/RVA, connect to “Rice Owls” network. (You can’t connect to NOTS if you’re on “Rice Visitor”.) If off-campus, follow these instructions to set up the Rice VPN. Then, SSH into NOTS by opening up a terminal and typing
ssh -Y [your NetID, e.g. abc123]@nots.rice.edu
Type in the same password you use to log in to ESTHER. You should now be connected to one of the login nodes.

Overview of Filestructure

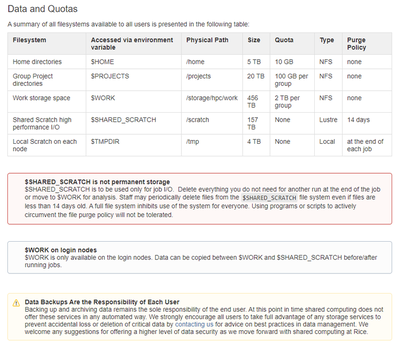
After SSH-ing into a login node your terminal will be in your local user directory /home/[your NetID]/ e.g. /home/abc123/. You can freely edit anything in this directory.
cd into $SHARED_SCRATCH and mkdir a directory for yourself:
cd $SHARED_SCRATCH
mkdir [your NetID]
The $SHARED_SCRATCH directory is a place to store temporary files for job i/o. Files here may be purged after 14 days. Once a job is done, you will copy the output to your directory in $WORK. First cd into $WORK/[your advisor's NetID] and mkdir [your NetID]. For me I had to write
cd $WORK/al72
mkdir rmh14
Modules
module avail gives a list of available modules. Adding a keyword afterword, e.g.
module avail math
returns a list of modules with the word “math” in them:

Interactive session:
srun -p=interactive --pty --export=ALL -n=1 -c=1 --time=00:30:00 /bin/bash
See https://slurm.schedmd.com/srun.html for explanation of the options. There is a time limit of 30 minutes; if you request 1 hour of time you will receive an error.
Check how many resources previous jobs have used with sacct --format="JobID,CPUTime,MaxRSS"